そのほか随時追加していきます。
カテゴリー: コーディング
【Chrome拡張機能】ブラウザ上でサイズが測れる Page Ruler
・ブラウザ上でサイズの測れるボックスを表示させる拡張機能
・ボックスの端での大きさ変更、数値での変更、ドラッグで移動も簡単にできる
【Chrome拡張機能】ブラウザ上で色を取得できるColorZilla
■ColorZilla
・ブラウザ上でカラーピッカ―を表示させ、カラーコードを取得できる
■上記を使わない場合
・検証ツールでプロパティにcolorで適当に色指定
→色が表示されるボックスをクリックするとピッカーが表示される
デバイスチェックに便利なChromeプラグイン
■デバイスチェックに便利なプラグインまとめ
・MobileLayouter
userAgentを偽装して携帯・スマートフォン用のWebページを表示するプラグイン
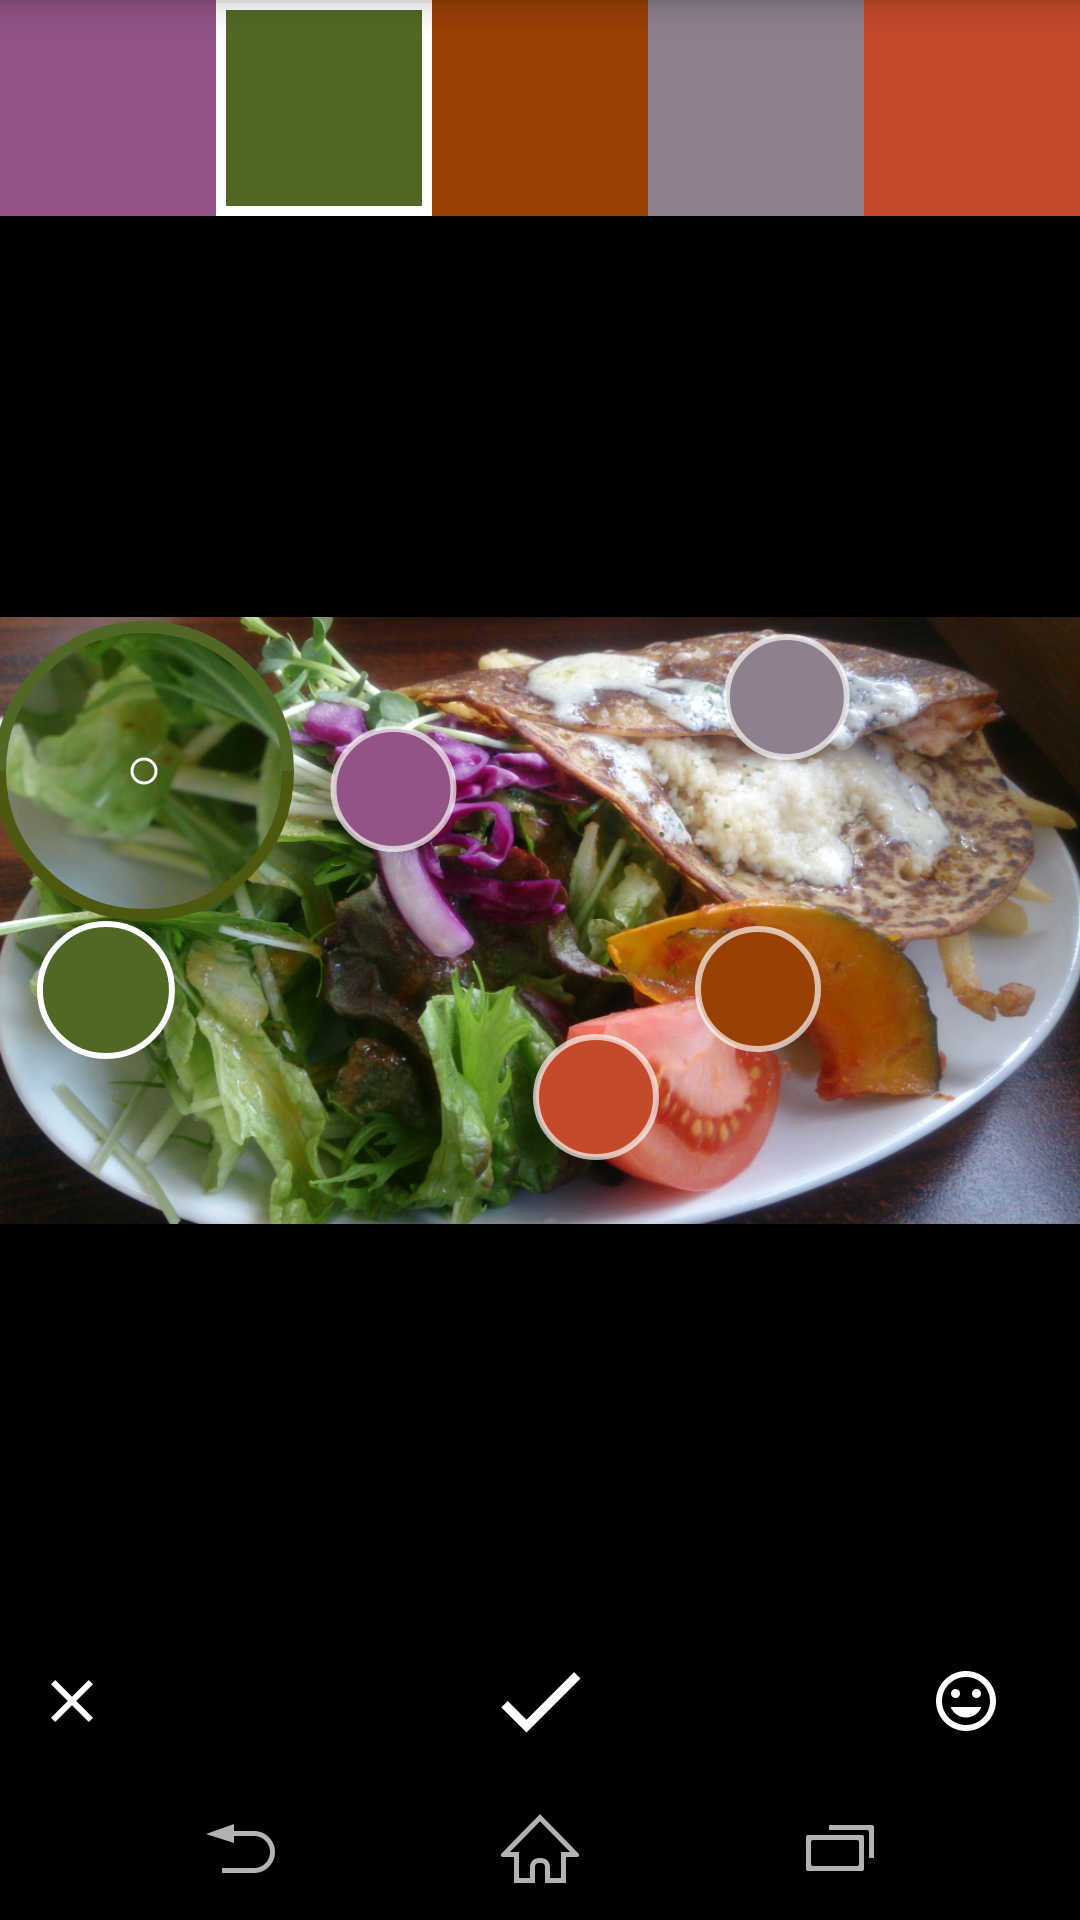
【Adobe Capture】で写真からカラー、パターンなど抽出する
■ポイント
・その場でとった写真や保存している写真から、カラーコードや、パターン、ブラシなどが作成できる。
・Adobeの拡張機能で作成したものを利用できる。
・Adobe Capture自体は会員登録すれば無料で使える。
■ブラウザ上で写真からカラーを抽出する Adobe Color CC
https://color.adobe.com/ja/create/color-wheel/
■スマホアプリ
カラーコードを抽出しているところ

【-webkit-background-clip】文字にグラデーションをかける【ie非対応】
■ポイント
・-webkit-background-clip:text;文字で背景色を切り抜く
・バックグラウンドにグラデーションをかける
・IE非対応なので、ハックで通常のカラーを代替で指定する事
■HTML
<div id="demo">
デモ
</div>
■CSS
#demo {
	width:600px;
	height:400px;
	margin:0 auto;
	text-align:center;
	font-size:30px;
	font-weight:bold;
	background: rgb(208,228,247); /* 背景にグラデーションをかける */
     background: -moz-linear-gradient(top, rgba(208,228,247,1) 0%, rgba(115,177,231,1) 24%, rgba(10,119,213,1) 50%, rgba(83,159,225,1) 79%, rgba(135,188,234,1) 100%);
     background: -webkit-linear-gradient(top, rgba(208,228,247,1) 0%,rgba(115,177,231,1) 24%,rgba(10,119,213,1) 50%,rgba(83,159,225,1) 79%,rgba(135,188,234,1) 100%);
     background: linear-gradient(to bottom, rgba(208,228,247,1) 0%,rgba(115,177,231,1) 24%,rgba(10,119,213,1) 50%,rgba(83,159,225,1) 79%,rgba(135,188,234,1) 100%);
     filter: progid:DXImageTransform.Microsoft.gradient( startColorstr='#d0e4f7', endColorstr='#87bcea',GradientType=0 );
	-webkit-background-clip:text; /* テキストで背景色を切り抜く */
	color:transparent; /* クリップ文字で背景を抜いたとき、背景色が見えるよう透過にする */
}
■参考:アイデア次第で効果的な使い方ができるかも!?「background-clip:text;」を使って背景画像を文字でマスクする方法CSSのみでテキストにグラデーションやリフレクトをかけるテクニック(ちょっと更新)
属性セレクタでCSSを適用させる
■ポイント
・タグに直書きされている属性でセレクタを選択できる。
・いじれれない部分にCSSを適用させる際に便利
<div width="640" height="200">
   <p>デモ</p>
</div>
<style>

div[width="640"]{
	width:100%;
	height:400px;
	background:#C93;
}
div[width="640"] p{
	text-align:center;
}

</style>

WP:カスタムタクソノミーごとの投稿とタームの一覧表示
home.phpなどの投稿ページに、タクソノミーのターム(カテゴリー)ごとに投稿の一覧または子カテゴリーを表示するソースです。
<div class="box">

      <?php
      $args = array(
        'parent' => 0,
        'hierarchical' => 0,
        'order' => 'ASC'
      );
      $taxonomy_name = 'タクソノミー名';
      $taxonomys = get_terms( $taxonomy_name, $args );
      if ( !is_wp_error( $taxonomys ) && count( $taxonomys ) ):
        foreach ( $taxonomys as $taxonomy ):
          $url = get_term_link( $taxonomy->slug, $taxonomy_name );

      ?>


      <div class="contentbox01">

        <h2 id="<?php echo esc_html($taxonomy->slug); ?>" class="h2_style01"><?php echo esc_html($taxonomy->name); //タームタイトル?></h2>

        <div class="contentbox01_in">


          <table class="table_style01">


            <?php
            /**
             * お知らせ等の一覧を取得
             *
             */
            $args = array(
              'post_type' => 'カスタム投稿名',
              'posts_per_page' => 10, //新着順に10件表示
              'orderby' => 'post_date',
              'order' => 'DESC',
              'post_status' => 'publish',
              'tax_query' => array(
                'relation' => 'AND',
                array(
                  'taxonomy' => 'タクソノミー名',
                  'field' => 'slug',
                  'terms' => $taxonomy->slug,
                  'include_children' => true,
                  'operator' => 'IN'
                ),
              )
            );

            $the_query = new WP_Query( $args );

            if ( $the_query->have_posts() ):
              ?>

            <?php
            $term_id = $taxonomy->term_id;
            $children = get_term_children( $term_id, $taxonomy_name );
            if ( $children ): //子タームを持つ場合にはタームの一覧を表示
              ?>

            <?php
            $term_id = $taxonomy->term_id;
            $taxonomy_name = 'タクソノミー名';
            $termchildren = get_term_children( $term_id, $taxonomy_name );


            foreach ( $termchildren as $child ) {
              $term = get_term_by( 'id', $child, $taxonomy_name );
              echo '<tr><td><a href="' . get_term_link( $child, $taxonomy_name ) . '">' . $term->name . '</a><td></th>';
            }

            ?>


            <?php else: ?> //子タームを持たない場合には投稿の一覧を表示


            <?php while ( $the_query->have_posts() ) : $the_query->the_post(); ?>


            <tr>
              <th>
                <?php the_time('Y.m.d'); ?>
              </th>
              <td>
                <?php
                $cf_important = get_field( 'important' ); //ACFで作成したチェックボックス
                if ( $cf_important == '表示する' ) {
                  echo '<span class="important01">重要</span>';
                } else {
                  echo ' ';
                }
                ?>
                <?php if(get_field('important')): ?>
                <span class="important01">重要</span>
                <?php endif ;?>
                <a href="<?php the_permalink(); ?>">
                  <?php the_title(); ?>
                </a>
              </td>
            </tr>

            <?php
            endwhile;
            ?>

            <?php endif; ?>

            <?php
            endif;
            wp_reset_postdata();
            ?>


          </table>


        </div>
        <div class="btnbox01">
          <a href="<?php echo esc_url( home_url( '/' ) ); ?><?php echo esc_html($taxonomy->slug); ?>/">一覧へ</a>
        </div>
      </div>

      <?php endforeach; endif; wp_reset_postdata(); ?>


    </div>
    <!-- box -->
【jQuery】長い文字列を省略し「…」にする
■ポイント
・テキストの文字列を取得する。
・表示する文字数をブレイクポイントに、if構文で文字を省略し「…」を追加するか、そのまま表示するかに分ける
■jQ
<script type="text/javascript" src="http://ajax.googleapis.com/ajax/libs/jquery/1.7.1/jquery.min.js"></script>
<script>
$(function(){
    var $setElm = $('#demo .text'); // 省略する文字のあるセレクタを取得
    var cutFigure = '10'; // 表示する文字数
    var afterTxt = ' …'; // 文字カット後に表示するテキスト

    $setElm.each(function(){
        var textLength = $(this).text().length;  // 文字数を取得
        var textTrim = $(this).text().substr(0,(cutFigure))  // 表示する数以上の文字をトリムする

        if(cutFigure < textLength) {   // 文字数が表示数より多い場合
            $(this).html(textTrim + afterTxt).css({visibility:'visible'});  // カット後の文字数に…を追加
        } else if(cutFigure >= textLength) {  // 文字数が表示数以下の場合
            $(this).css({visibility:'visible'});    // そのまま表示
        }
    });
});
</scritpt>
CSSのみで作るドロップダウンメニュー
■ポイント
・外側のナビの各項目の中に入れる入れ子構造にする
・疑似クラス:hoverとdisplay:none; display:block;で表示を切り替える
■HTML
<ul id="gNav">
    <li><a>Gナビメニュー</a>
       <ul id="subNav"> <!--サブナビを入れ子にする -->
           <li><a>サブナビ1</a></li>
           <li><a>サブナビ2</a></li>
           <li><a>サブナビ3</a></li>
        </ul>
    </li>
</ul>
■CSS
#subNav{
  display:none; /* hoverされるまで非表示にする */
}
#gNav li:hover #subNav{
 display:block; /* Gナビメニューにマウスオーバーした際に表示させる */
}